📢 This forum is no longer actively updated, but we've kept it online as a resource — there's a lot of helpful history here! For new discussions, come join us on
discord!
I understand that idea of loop feature is to have all looped items to be exactly the same in terms of styles, but is there any way to style for example only 3rd item in loop?
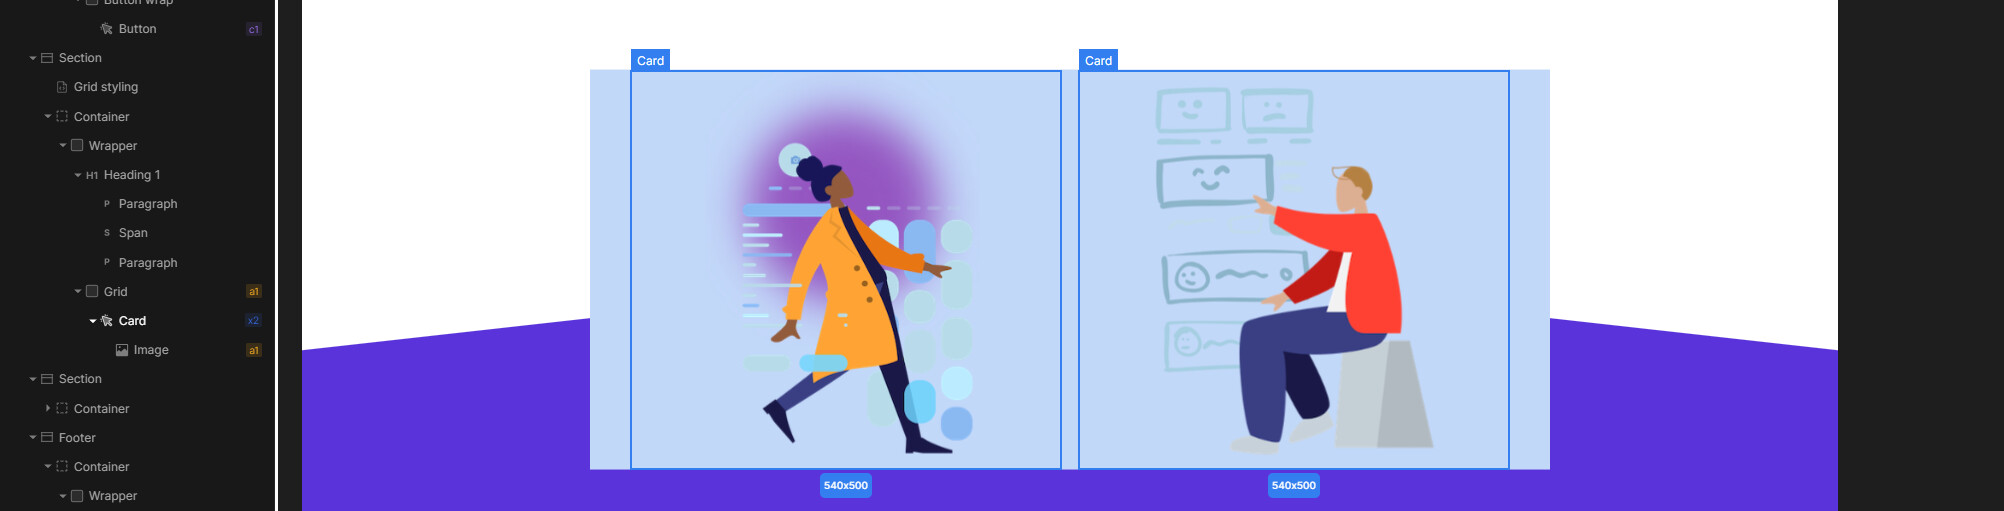
I have this 4 cards in loop (screenshot), but I want my 3rd card to standout a bit more, maybe a different background or shadow, how do I achieve this?
This is possible in three ways, one way is to add a class to item that you want to edit. In this case to 3rd item, second way is through custom CSS and third way is through style attribute.
Option 1: Through class
If you click to edit 3rd item and add class “card-highlight” for example, only that item will have that class. Which means now whatever style is coming from that class, it will be applied to only that item in loop.
But be aware: tag styles are stronger than class styles.
What this means is, if you have background style applied to tag, whatever is coming from class will not override tag styles, one trick to override it is to open custom CSS and add !important in class styles.
For example: background:blue!important;
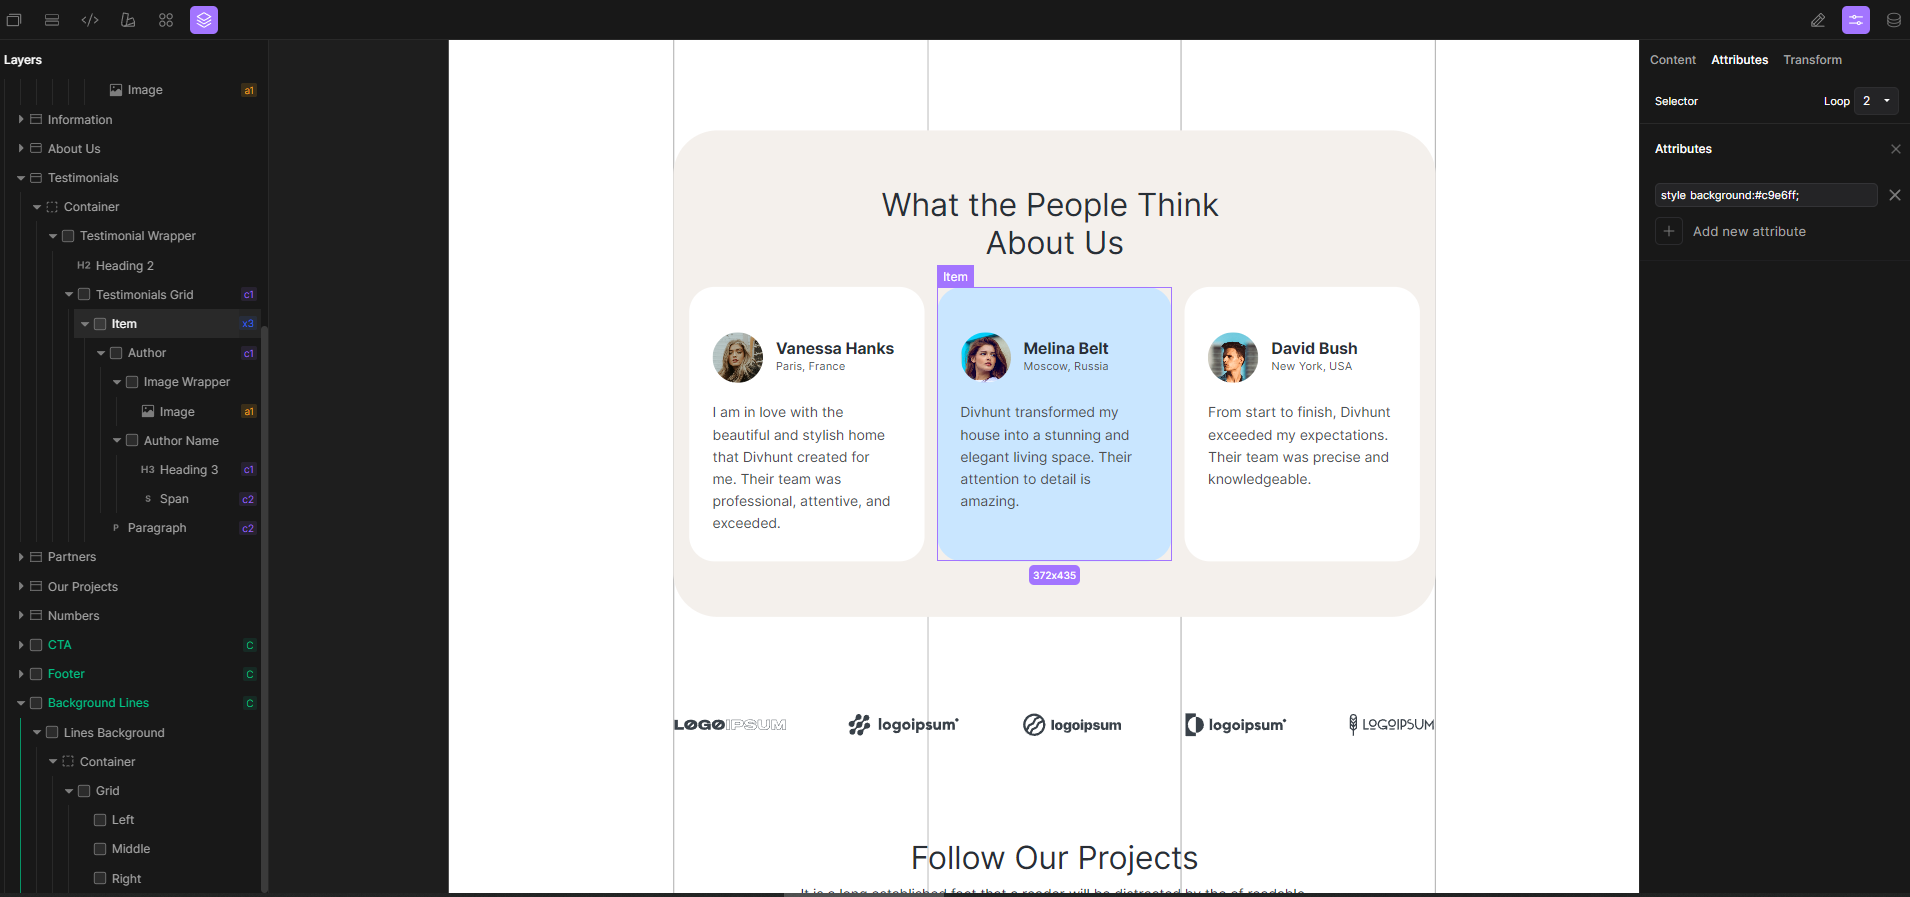
Option 2: Through style attribute
You can change attribute of specific tag inside of loop without affecting any other tag. This means you can add style attribute and change styles only of selected tag.
You can see on example below that I changed background color only of 2nd item in loop.
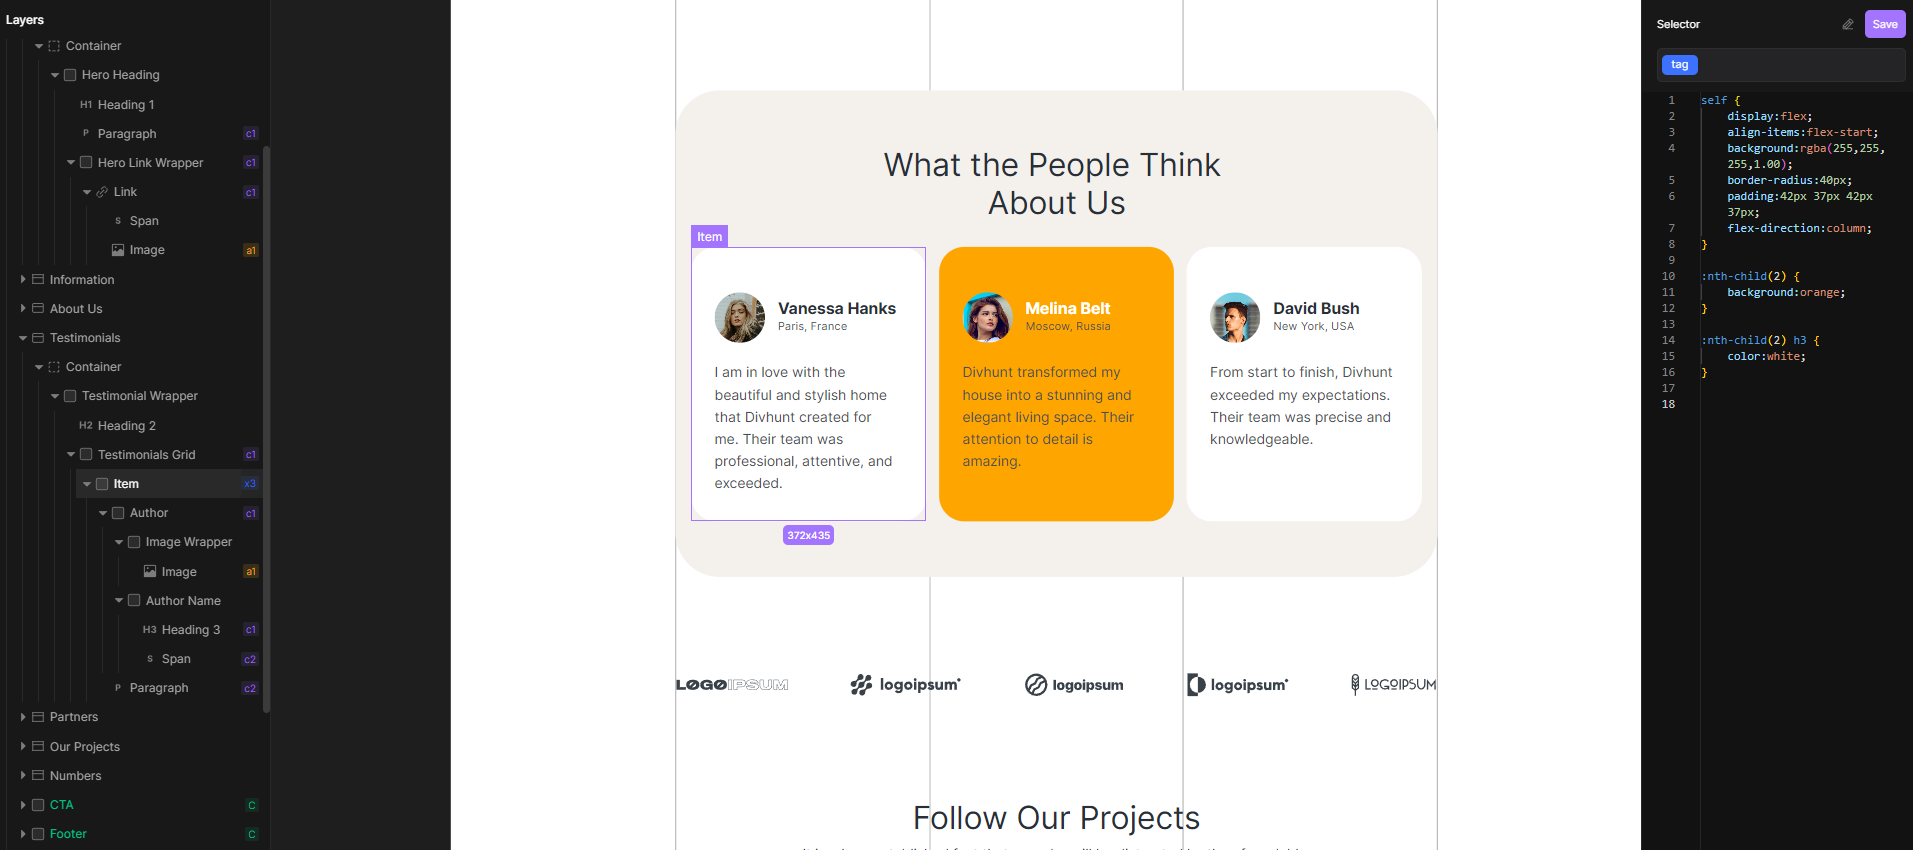
This is the hardest way, for some people might be overwhelming, but developers will like this way of doing things.
If you click on looped item (parent), then you can open custom CSS tab and target specific elements with :nth-child feature of CSS. For example you can edit every 2nd looped item using :nth-child(odd) or you can style heading 3 inside of 2nd loop item by using :nth-child(2) h3.
You can see the idea in the screenshot below.
If you would like to learn more about nth child possibilites, you can do it here.
further, removing either of the lines of code above results in neither having a background applied.
I inspected the preview page to see if some div or other element was being inserted between the grid and the link wrappers, but that does not seem to be the case either.
ah, yes forgot to target the a element in my implementation, thanks. that helped with the bg.
I also wasn’t aware of the direct access to css within the properties page so that’s alse great.
Also I understand that the first element creates the default for subsequent elements, that’s helpful.
I still have the issue of the buttons ending up in new loops, even though they are children of link wrappers. I am wondering if I needed a div around the button and image, will test now.